Kernel Hacking With HEVD Part 1 - The Setup
I’ve been spending a lot of time lately playing with the Hacksys Extreme Vulnerable Driver created by Ashfaq Ansari (huge kudos!). I wanted to do some of the challenges in Win7x64 however the instructions on the github page made some assumptions that were not true for me so I had to figure it out as I went. Every step of the process from compiling the driver all the way to finalizing an exploit was a learning opportunity for me so I thought I would share the experience here for others who may find it interesting.
Compiling the Driver
So starting from scratch, you’ll want to install Visual Studio 2015 along with the latest SDK. Also install the Windows Driver Kit (WDK). I wanted to target Windows 7 x64 so I downloaded the Windows 7 SDK too.
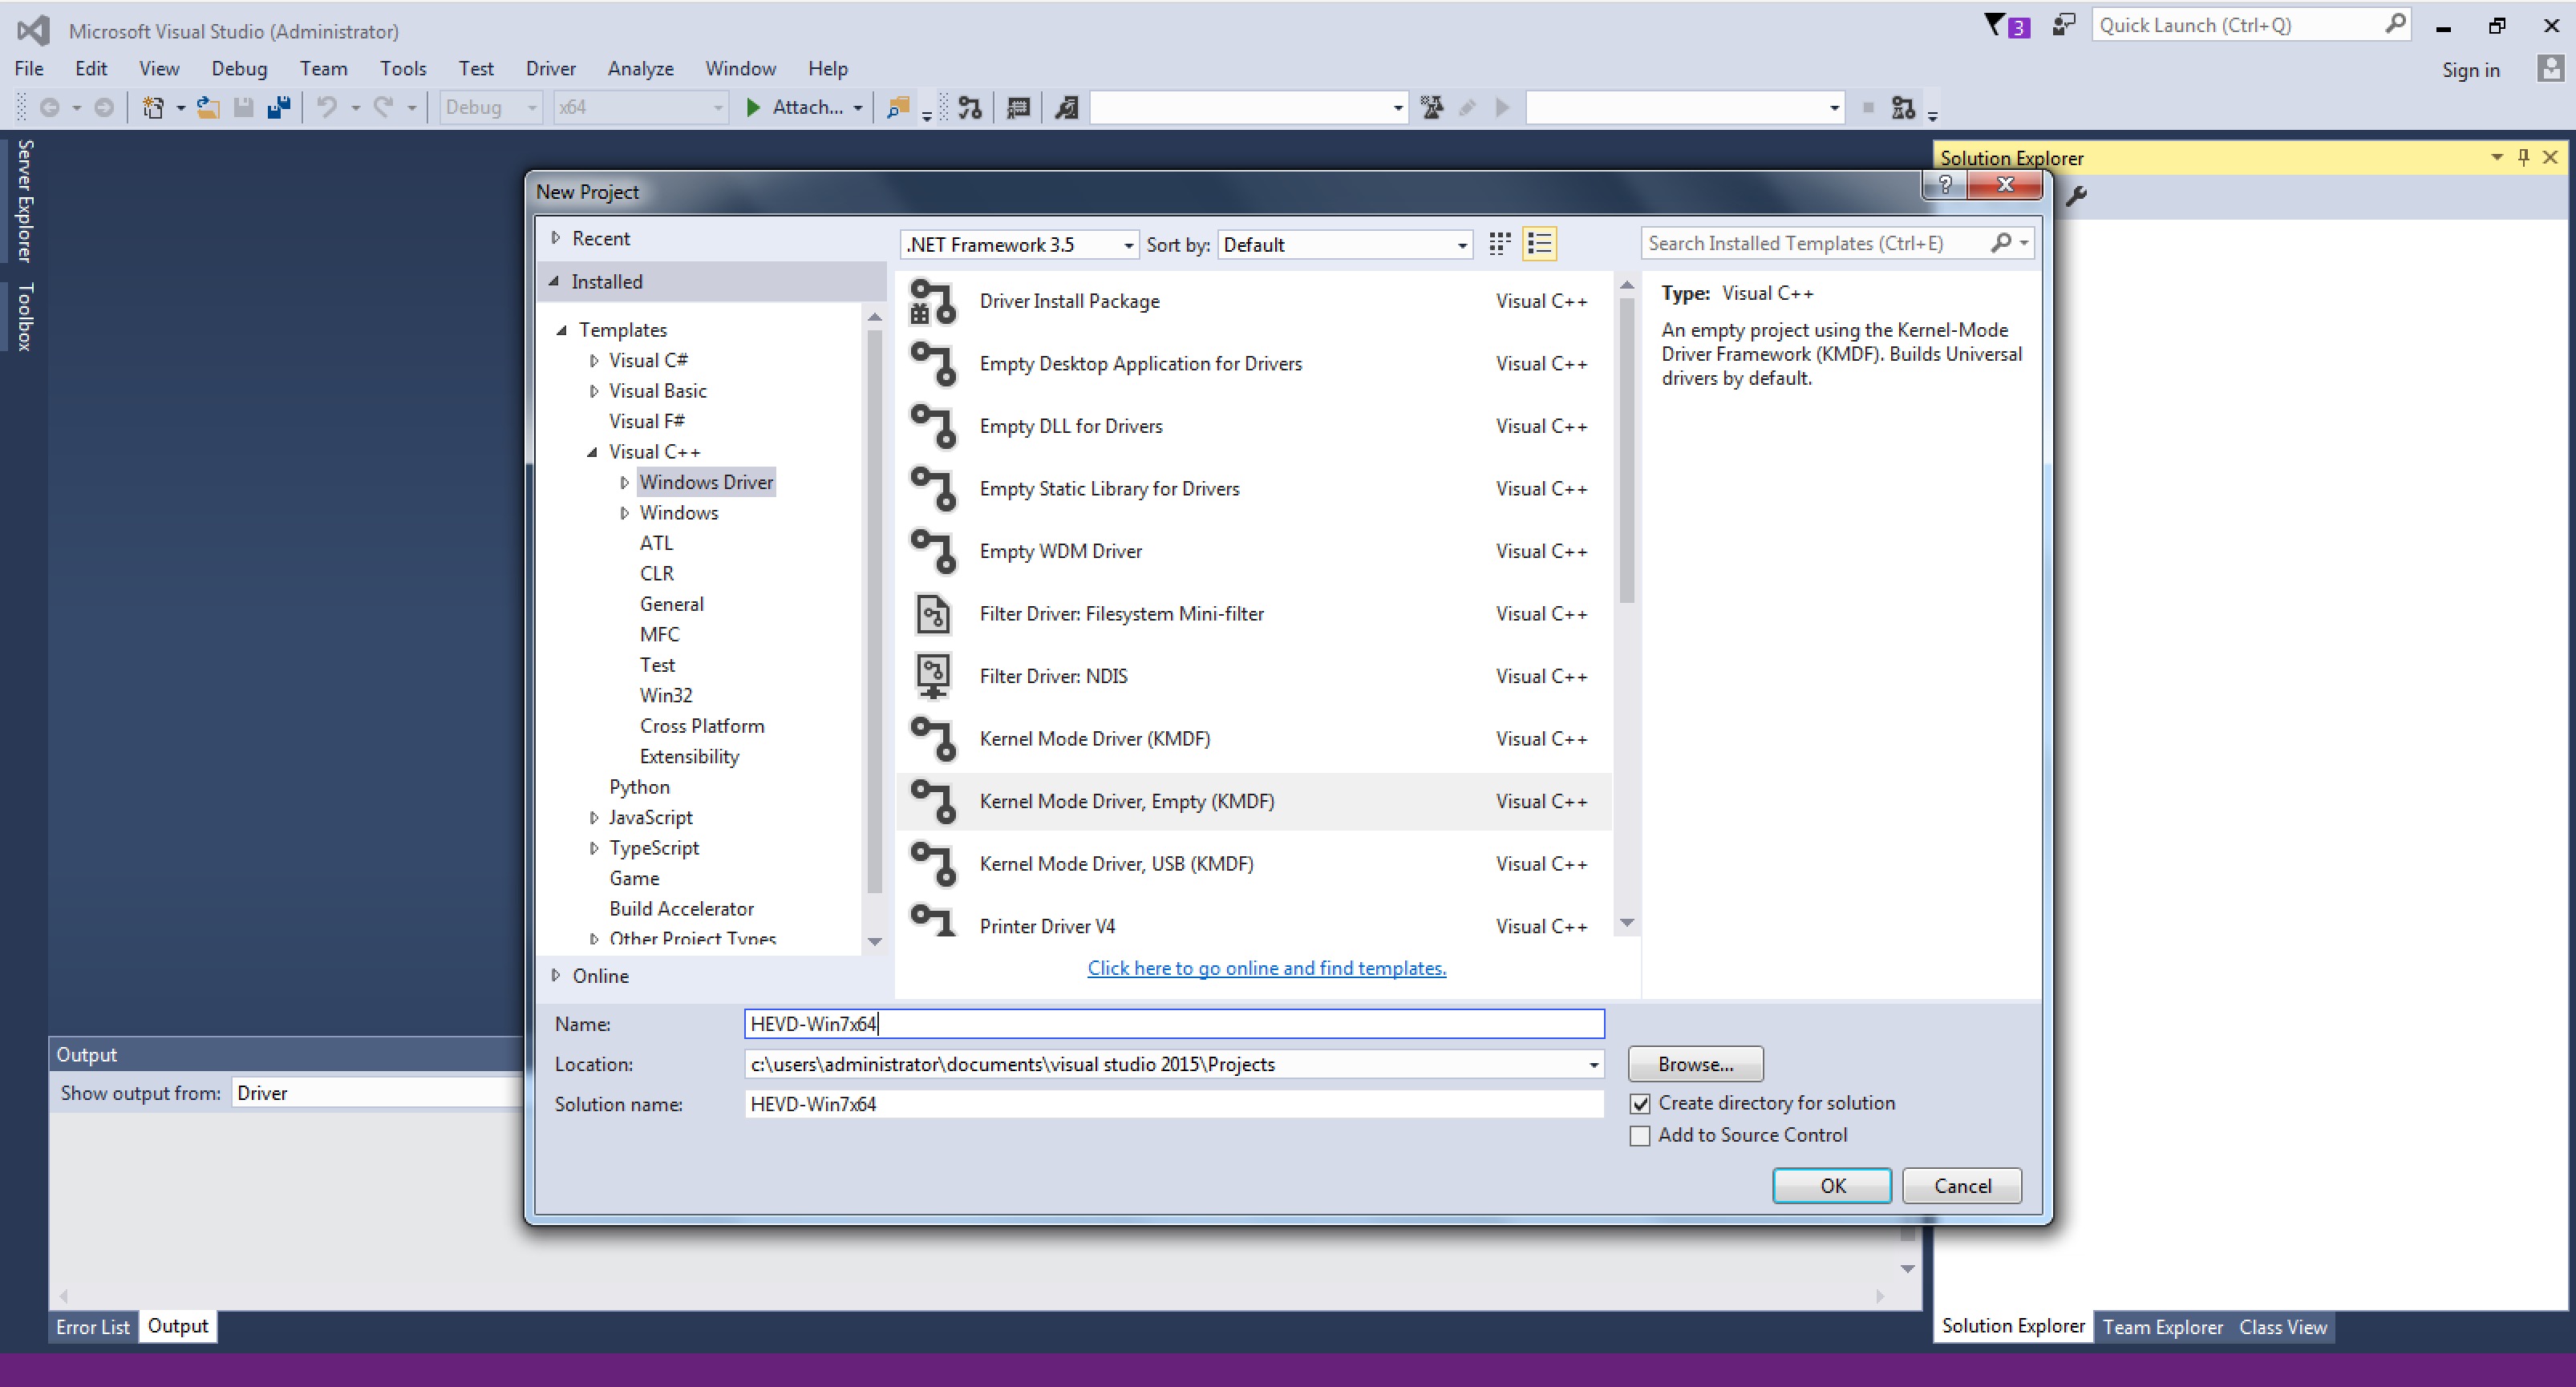
With all that installed, I just downloaded a zip file of the HEVD source code from here and extracted the driver source code to a directory. Next, open Visual Studio and start a New Project. After installing the WDK you should have the option to create an empty kernel mode driver. Give your project a useful name (e.g. HEVD-win7x64) and hit OK:
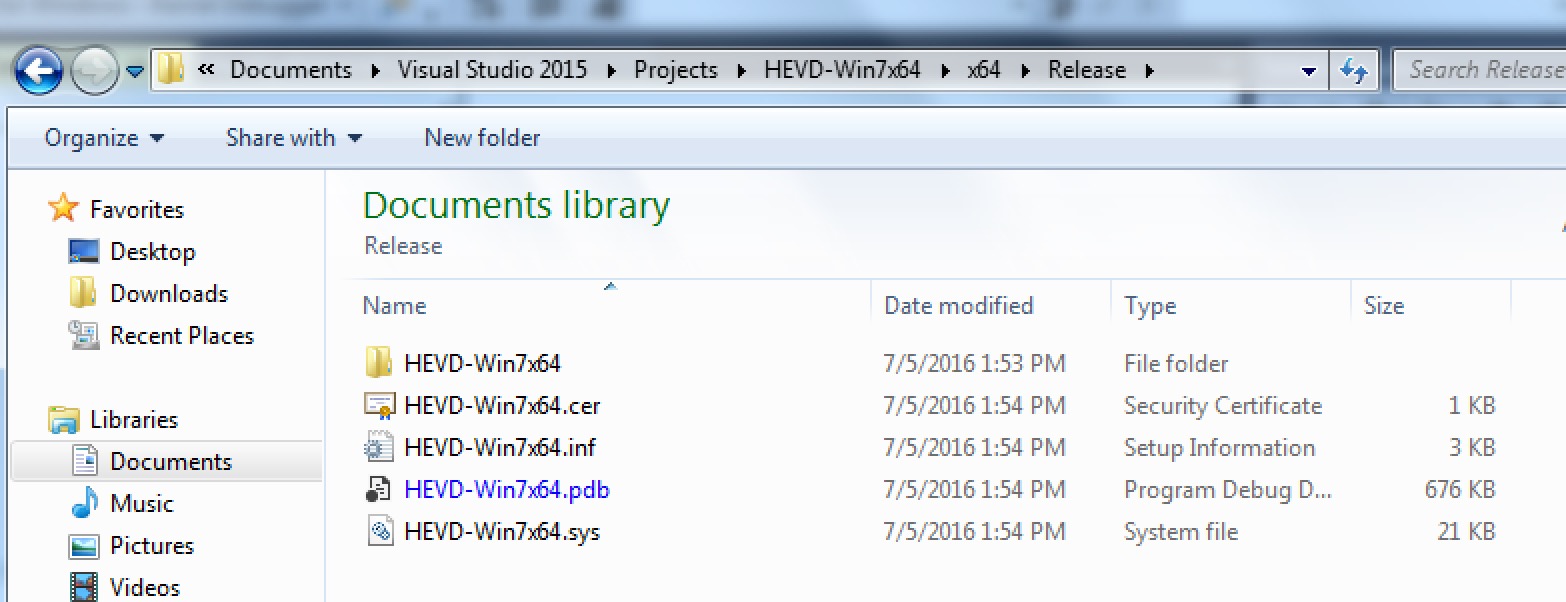
Right-click on the Header Files folder in the Solution Explorer on the right and click Add > Existing Item… Browse to the driver source code directory and import all the .h files. Do the same for the Source Files folder in Solution Explorer and import all the .c files. Now under the Project menu, select HEVD-win7x64 Properties… to open the project properties dialog. I had to change a few things in here to finally get it working correctly. Click the C/C++ node and change “Treat Warnings As Errors” to “No (/WX-)”. You’ll also want to scroll down to the Code Generation sub-node and change the Security Check option to “Disable Security Check (/GS-)” so we can play with this buffer overflow without complications. Click the Driver Settings node and make sure the Target OS is Windows 7 and Target Platform is Desktop. At this point you should be ready to build! Under the Build menu, click Build Solution and if all goes well you should find HEVD-Win7x64.sys under your project folder in x64\Release:
Installing the Driver
Windows 7 x64 doesn’t allow you to just install any old driver. As MSDN puts it, “Starting with Windows Vista, all 64-bit versions of Windows require driver code to have a digital signature for the driver to load.” There are various workarounds that Microsoft gives you for testing drivers but I think the easiest option is using the TESTSIGNING boot configuration option. This allows you to use the test certificate with which Visual Studio signed the driver and doesn’t require the fully trusted verification chain.
Open an administrator command prompt and issue the following command:
bcdedit -set TESTSIGNING on
and reboot. You’ll get a neat little watermark in the corner to confirm your success :). 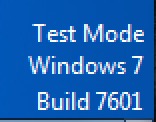
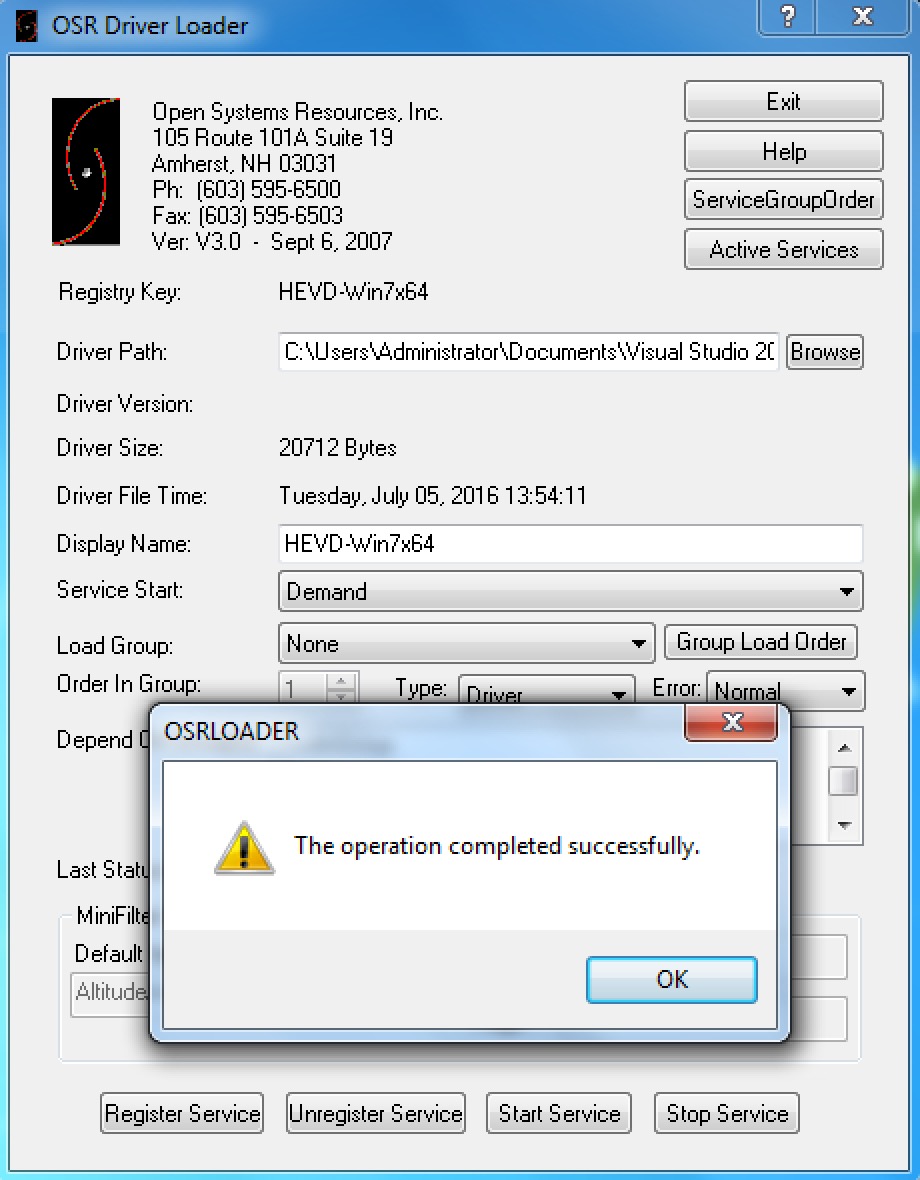
Loading the driver requires one more step. Normally drivers are created with an installer and all that but for testing the best option is to use the OSR Driver Loader. Download the utility from this link (registration required… mailinator is your friend) and extract OSRLOADER.exe. Point it at your newly compiled driver and you’ll need to “Register Service” first. Once it is registered, click “Start Service” and you’re in business!
Kernel Debugging
It was surprisingly difficult for me to get kernel debugging properly configured. Apparently in VMWare Workstation it is a breeze to configure a shared serial port pipe for this, however VMWare Fusion on OSX doesn’t officially support it. The most useful link I found to get this working is this one which appears to be a homework assignment for some class. It is outdated in some parts but the useful tl;dr of it all is basically that you need to first shut down (full shutdown, not just suspend) your debugging VM (I used a Win10 x64 VM) and append this to the .vmx file:
serial1.present = "TRUE"
serial1.fileType = "pipe"
serial1.fileName = "/private/tmp/serial"
serial1.tryNoRxLoss = "FALSE"
serial1.pipe.endPoint = "client"
Then before you shut down your debugee VM (the Win7x64 one), we need to do another bcdedit command. Open an administrator command prompt and enter the following:
bcdedit /dbgsettings SERIAL DEBUGPORT:2 BAUDRATE:115200
and then shut it down too. Open up the debugee’s .vmx file and similarly append the following to it:
serial1.present = "TRUE"
serial1.fileType = "pipe"
serial1.fileName = "/private/tmp/serial"
serial1.tryNoRxLoss = "FALSE"
serial1.pipe.endPoint = "server"
Next for some reason the article recommends sharing the /private/tmp folder with both VMs. I don’t understand this step but I did it anyway because #yolo. At any rate, start up the debugging VM and open up WinDBG AMD64 (you already installed that on your debugging VM, right?). Click File > Kernel Debug… to bring up the kernel connection dialog box. Click the Serial tab and change COM1 to COM2 and hit OK. Now fire up the Win7x64 debugee VM and cross your fingers. If all goes well you should see this in your debugger:
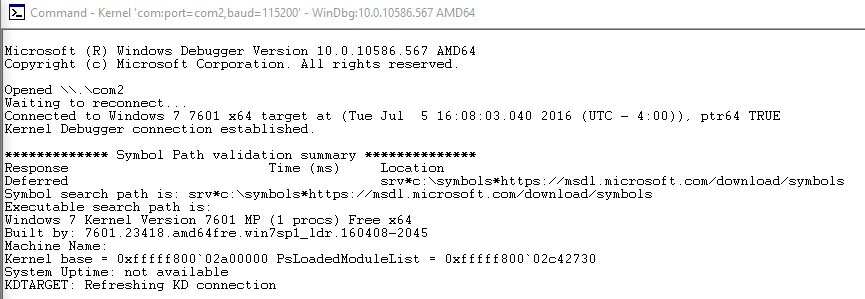
If you registered the HEVD driver service to start automatically then it should be loaded and ready to go. You can check this by issuing a Break in the debugger and issuing the lmkm HEVD_Win7x64 command:
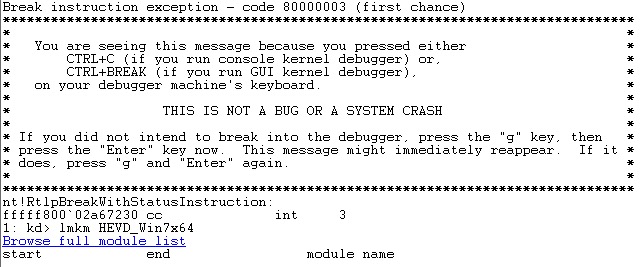
In this case I do not have it loaded and need to use OSRLOADER.exe to start it again. Before doing so however, I am going to make a quick tweak to my debugging environment so I can see the debug output that Ashfaq worked so hard to include :). You can read the background on this issue in this thread but basically to see the debug output, you have to issue the following command during each kernel debugging session (meaning after reboots too):
ed nt!Kd_DEFAULT_MASK 8
Once that is done, type g to continue execution of the debugee VM so we can reload the driver. Now go ahead and use OSRLOADER.exe to start the driver service. Finally if all goes well you reach the payoff!
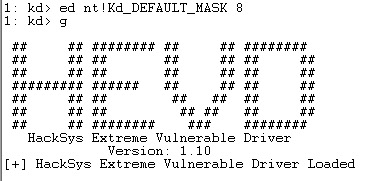
If you see that message then you’re in good shape, congrats! Go get a beer and celebrate now because in the next post in this series we’ll get down to banging out some code to try to exploit this thing.